
Halloween Cookies
Ingredients
250g unsalted softened butter
250g golden caster sugar
2 free-range eggs, lightly beaten
½ tsp vanilla extract
500g plain flour
1 tsp baking powder
Method
Preheat the oven to 170 C (this is the usual temperature when we bake cookies).
Prepare two baking trays with baking paper.
Now the preparation has been done, it is time to start our recipe:
1. First of all, put in the stand mixer bowl (or any other bowl if you use an electric hand mixer), the butter and the sugar. We need to beat them until the mixture turns light and fluffy.
2. In the meantime, we beat the two eggs slightly and add the vanilla extract to the eggs, then pour it into our mixing bowl with the fluffy sugar and butter mixture and mix. Sometimes that may look like is curdled (depending on how large the eggs are); in this case do not worry at all. Just add one or two tbsp from our flour.
3. If you wish to add some food colouring to our mixture, this is the right time to do so.
TIP: I prefer paste colours or powder ones. Be careful though, because some of the powder colouring has the salt as base, so may change the taste of your biscuits.
4. In a different bowl, mix together the flour and the baking powder and sift it carefully.
5. Once the flour and baking powder is mixed, stir it into the mixture and with your hands floured (to avoid stickiness), work this mixture into dough.
6. Empty your dough on a floured surface and knead a little bit, until you form a ball.
TIP: if the dough is slightly sticky DO NOT add more flour to it. This is the proper texture you need to have at this stage.
7. Separate the dough in 2 or 3 parts, wrap carefully in cling film and put it in the fridge to rest and the butter to become cold, for at least an hour or so.
As in most cookies’ recipes, we prefer to work with cold dough in order to ensure the butter does not melt out of the mixture before it is baked.
8. When the dough is ready, we take it out of the fridge portion by portion and roll it out to a 1/2 cm or 1/4 in thickness.
9. We have to be careful when we roll the dough out, as inconsistent thickness may cause failing results when we bake (the thinner cookies will be harder than the thicker ones may be softer and not brittle).
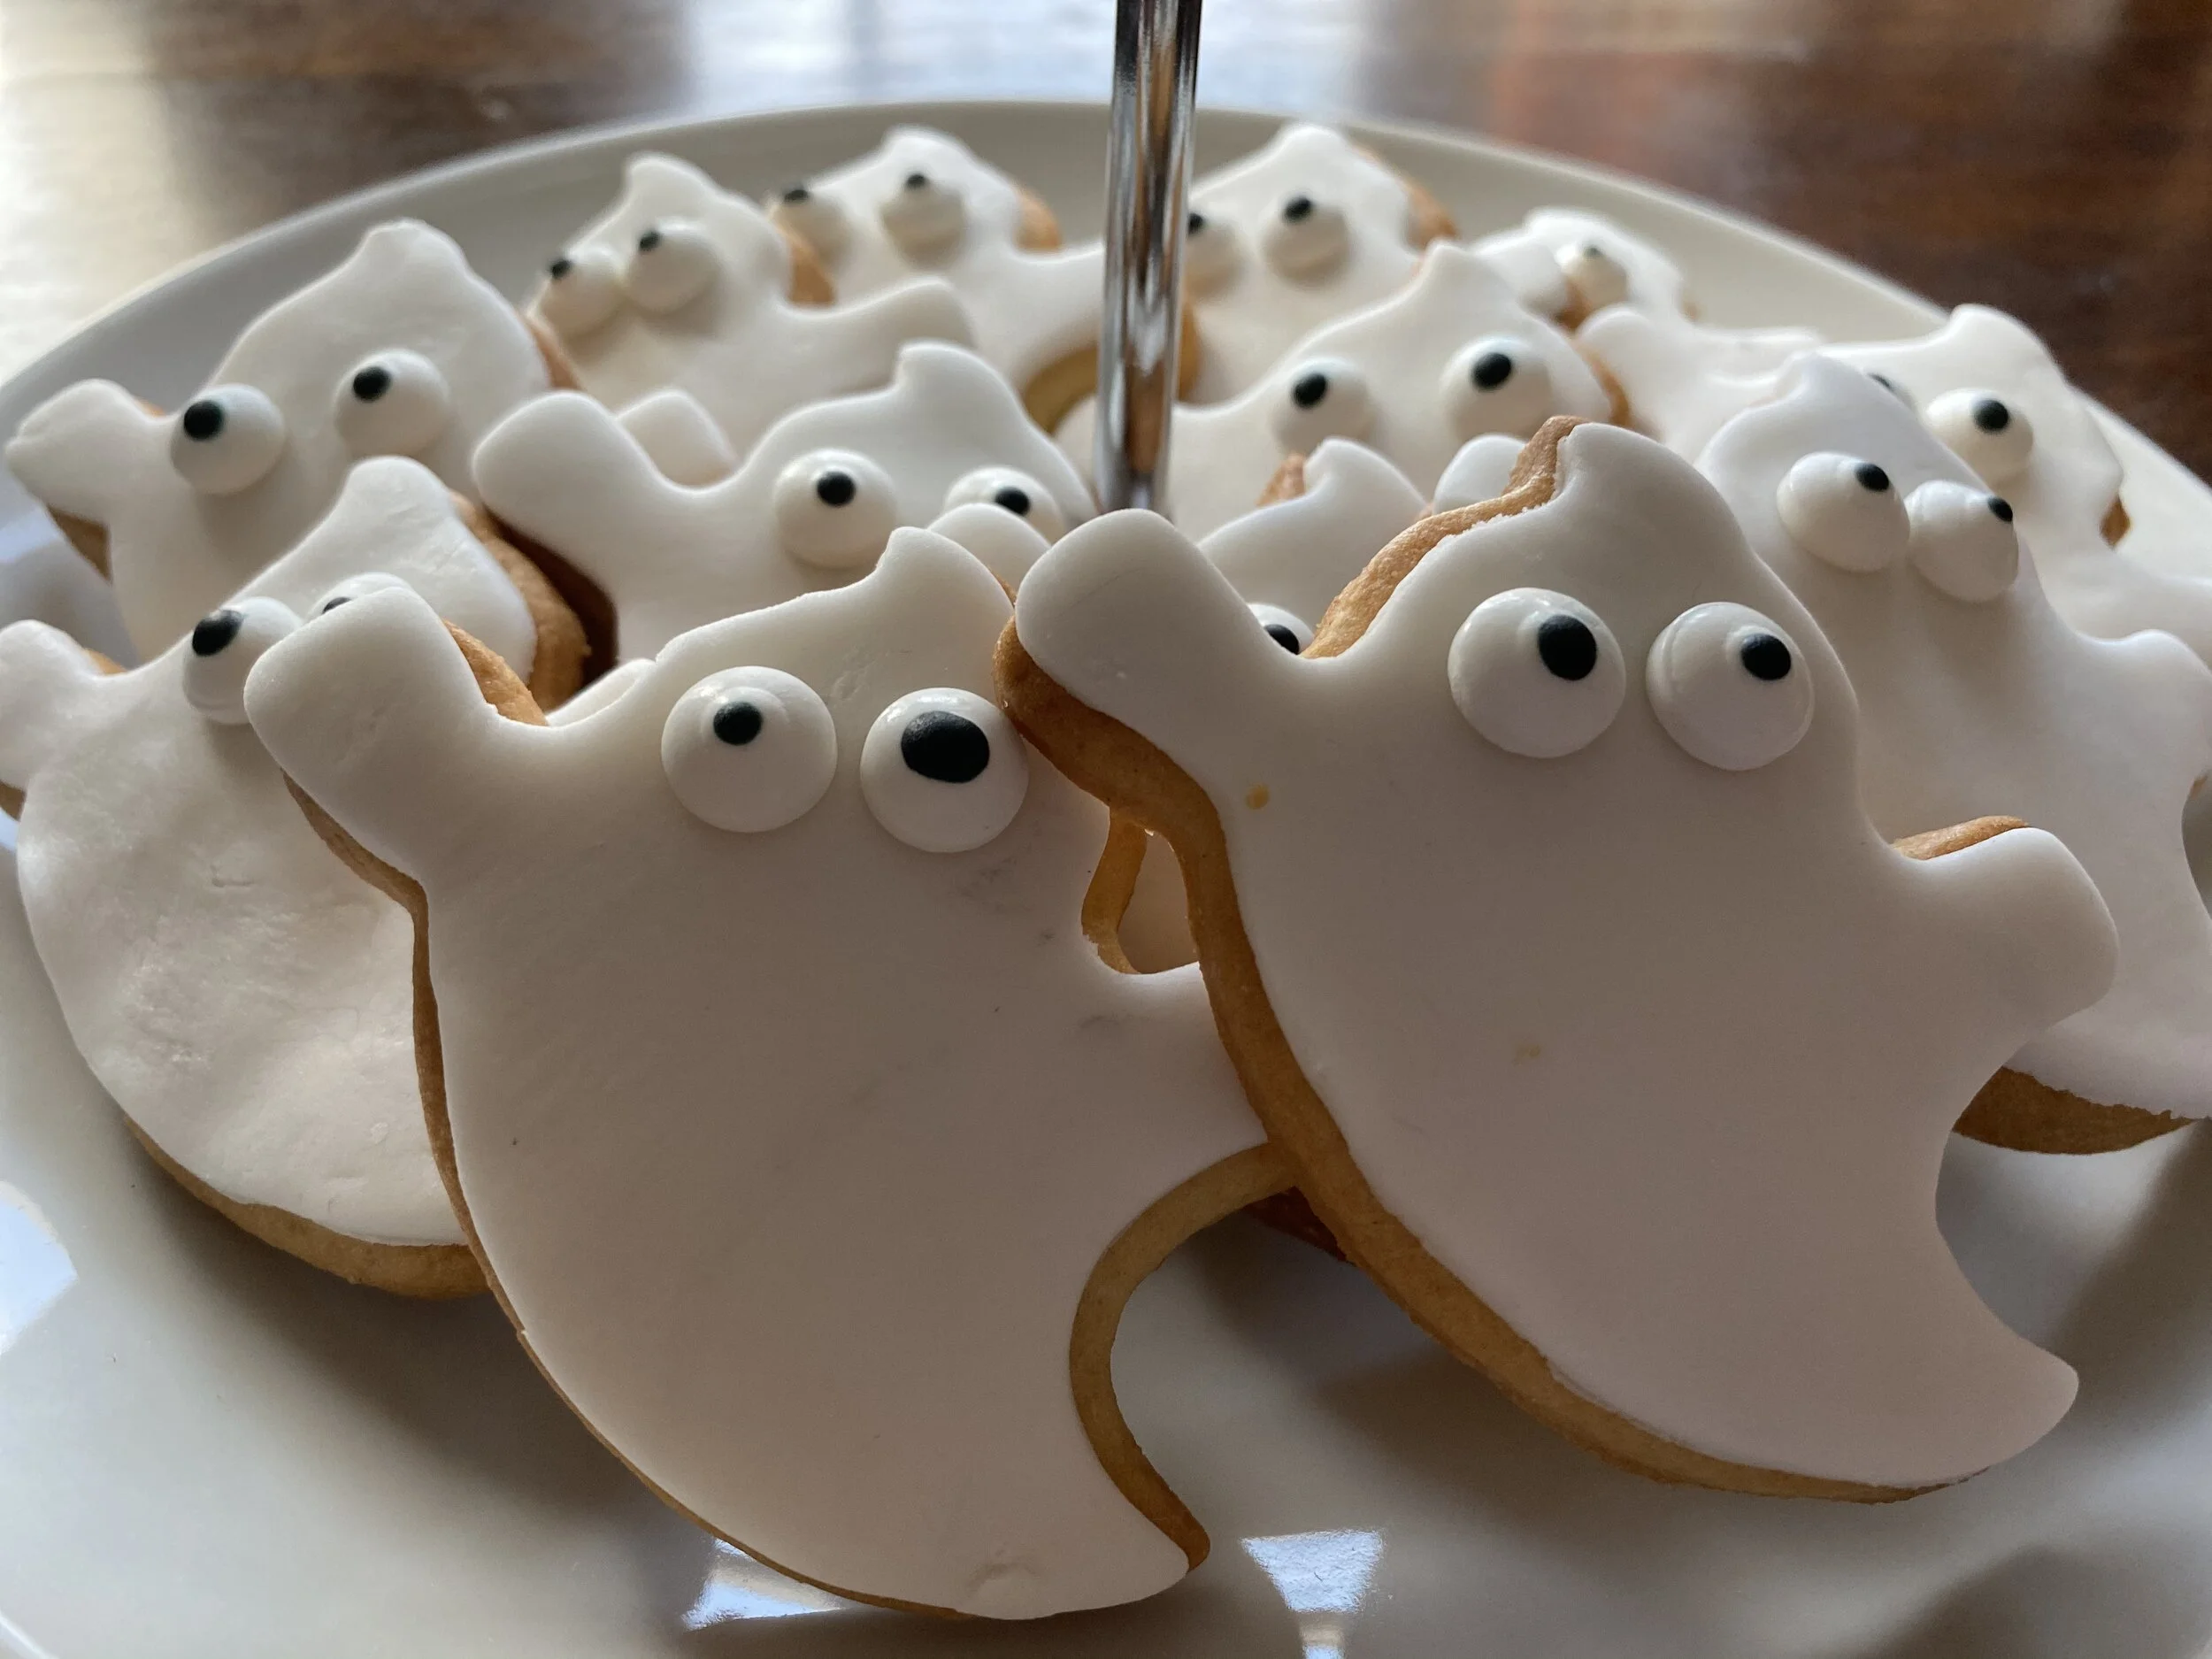
10. Once we are happy with the thickness of our dough, we cut our cookies using our Halloween cutters.
11. Then we place the cookies on our baking trays, leaving a gap as they will rise slightly and you don’t want them sticking together as that will damage their shapes.
12. We bake for 12-15 minutes (depending how big and thick we cut it) or until they have a nice golden colour.
13. When ready, let them cool down on a rack for at least 10 minutes.
14. Now, that our cookies are ready, it is up to us how we want to decorate them. We can either make royal icing and pipe only the outside lines of our biscuits, or even fill them with more royal icing, or to avoid the “dirty” job, we can roll out coloured fondant and using the cutters cut fab shaped ones.
Be careful though, the fondant has to be rolled out quite thin, otherwise it will be very sweet and the flavour will not be as good. Once you cut the fondant using the cookies cutters, use boiled water (that cooled down already), use a thin brush, brush the one side of the cookie and stick the fondant.
TIP: Don’t rush! When we want to ice the cookies, make sure they are not still hot. If they are, the royal icing or fondant will melt.
Please click HERE for the recipe of the ROYAL ICING.
Good luck and make them… spooky!!!